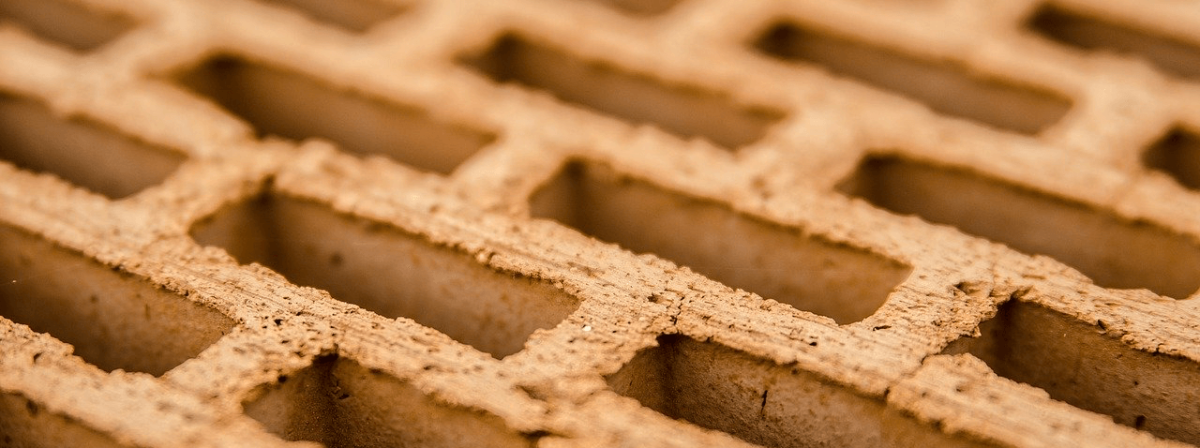
Without brick staining, eventually, your building would look like a mish-mash of different-colored bricks thrown together on the same wall, chimney, or roof.
Way back when, that’s exactly what happened. Some people like the vintage look of a variety of brick shades on the same masonry wall, but others want a more polished, uniform look.
Brick staining has become a staple of the masonry industry and the wider construction sector. With effective stain work, your home or commercial building can overcome supply or color limitations that come from sourcing brick or stone.
Why Brick Stain is So Vital
When you take on a large masonry project, you try your best to buy the same type or color of brick. That’s not always possible, though. To get the required amount of brick, you might have to buy from different sources, which can mean your bricks won’t look the same.
You may also be dealing with a repair or a renovation on an older building where it’s no longer possible to buy the same brick. That or the brick has become faded over the years.
Even if found the same brick, it won’t look the same once it’s installed. What you’ll end up with is an obvious mismatch that can look like shoddy workmanship.
Brick stain helps resolve any color or shade mismatches. You can stain the new brick to look like the old or vice versa. You can stain an entire structure of the wall a new color that you prefer more. A new project or brick repair can be melded into your existing building to look like nothing was ever done.
How Long Can You Expect Stain to Last?
The conservative estimate for the lifespan of brick stain is about 20 years. That’s a long time and underscores the importance of getting the stain done correctly. It’s going to be on there for a long time, so make sure you get it right.
Newer brick stains claim they last the lifetime of the brick. Essentially, the stain is permanent, so whatever shade or color you put on will be there until a new stain is applied or the brick is removed.
The long-term nature of brick stain means that preparation and getting it on well should be the priority.
The Brick Stain Process
As we’ve stated, a brick stain is essentially permanent, so follow these steps to get the results you want.
1. Make Sure Your Brick Absorbs Water
Some brickwork has a water sealant on it that will prevent the stain from absorbing into the brick and staying on. Check if your brick will absorb stain by pouring some water on the bricks. If it is soaked up by the brick, then you’re good to go.
If there’s a sealant on it, then you’re going to need to remove it with a lacquer thinner that can be purchased at any major home improvement store. If the lacquer thinner doesn’t work, you’re probably going to need to paint over the brick instead.
2. Clean the Surface
Simply use a hose to spray down the brick surface. You may need to use a brush to get off any moss, dirt or debris that stays stubbornly stuck even after it’s wet. Rinse from the top down. You don’t want to end by cleaning the top and have dirt slide down onto bricks you’ve already cleaned.
3. Test Your Brick Stain
Never just eyeball a color and go for it. You should always test your stain colors to make sure it’s what you want. Find a store that sells stain and ask them if you can sample the colors on bricks they have in the store.
Most will accommodate your request. Once you have the color you’re looking for, you can get ready to start staining.
4. Prep the Area
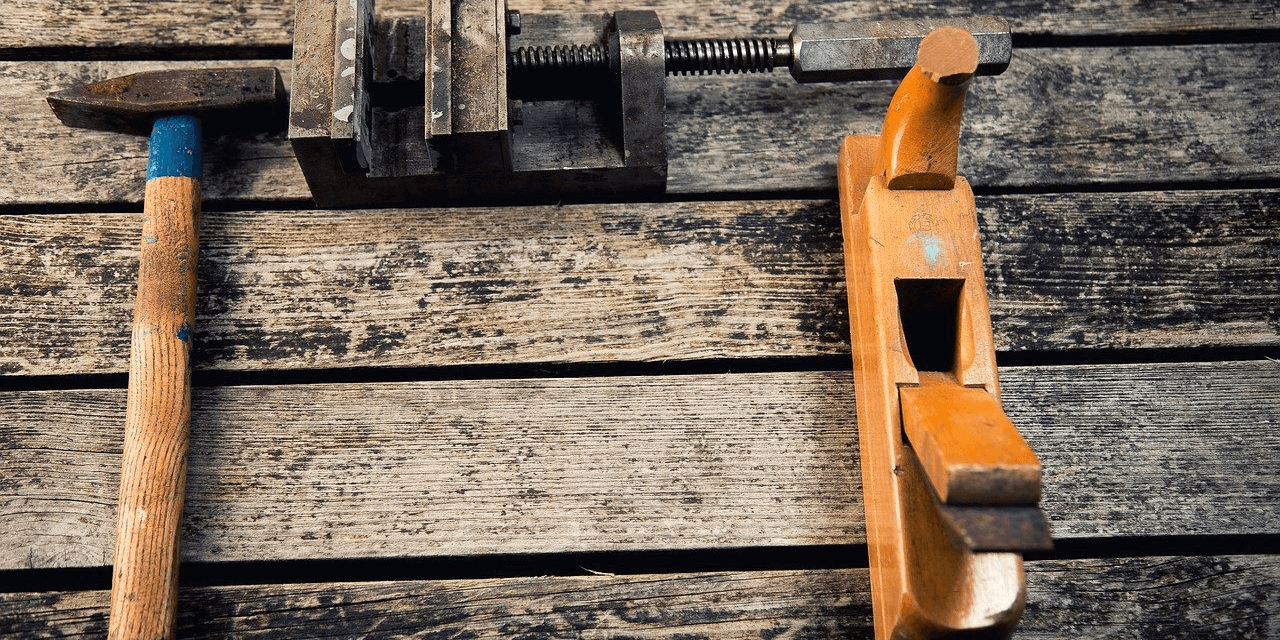
The main thing to keep in mind when staining brick is that you’re dealing with a stain that’s supposed to be permanent. Wear gloves, protective eyewear, and only use brushes and other tools you don’t plan on using for other non-staining projects.
It’s also a good idea to remove anything from the area you don’t want to get a stain on. Think about laying down a tarp or plastic sheets to protect sidewalks, doorways, or landscaping.
5. Check for Rain
Your stain is going to need some time to set and absorb into the brick so it can last for years. Check to make sure there’s no rain in the immediate forecast. Rain, and even heavy wind, can change how the stain will dry and set.
The same goes for high temperatures. If it’s too hot, it will affect the appearance of your masonry work. Follow the instructions on your stain and make sure you’re working within the prescribed temperature range.
6. Test on a Small Surface First
Use precaution and start applying stain on a small corner behind some bushes or somewhere else that’s discreet. This is a great way of confirming you’ve got the right mixture and color before you proceed to apply it to your bricks on a larger scale.
7. Brushing on the Stain
Generally, you’ll want to use a brush on each brick, running it across the length of the brick horizontally twice. Avoid getting stain on the mortar joints in between bricks.
You want to maintain the contrast between mortar and brick color to make your bricks pop more. Be quick to wipe up any stain spills with a wet rag or brush to stop it from absorbing.
Brush your stain on in a scattered pattern. If you’re dealing with a larger brick wall, you can get caught up going from end to end. The final result will look lighter on one end and darker on the other.
Instead, go from area to area. The minor changes in shade will blend better and give your brick surface a more natural look.
Follow these tips to get the forever brick stain you’re looking for. Done right, a new stain on your home or office building will look fantastic and last a lifetime.
