Before reading this steel lintel installation guide, understand what exactly it is and why you need it.
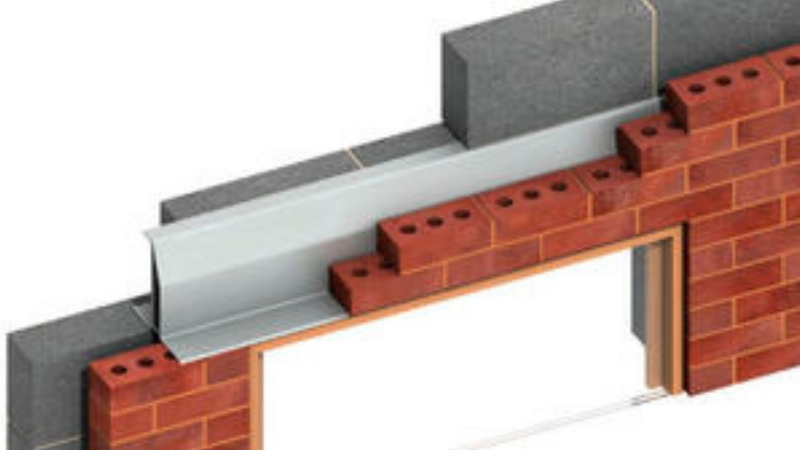
The steel lintel method has been developed and used in construction and brick buildings for centuries. It is a simple way to change the down force of the building specifically around an opening like a window or door and direction this force to the foundation below.
The way it works is by installing steel lintels over the windows and doors to block the weight and force so the whole structure won’t cave in on the foundation in masonry buildings.
In this guide we will explain how steel lintel is installed and replaced. If for any reason you need to have this service in your building, we are experts at this type of service and will be happy to work on your building or home.
Tools needed to install a steel lintel in a brick wall
These are the basic tools you will need in order to install the lintel. Please note though that for large projects and special situations, more tools are needed and a professional roofer company that knows how to handle these jobs.
- Hammer
- Chisel
- Trowel
- Mortar mix
- Steel lintel
- Small sledge
- Eye goggles
Step by step guide to installing a steel lintel
Step 1 – Find the right place to make the hole
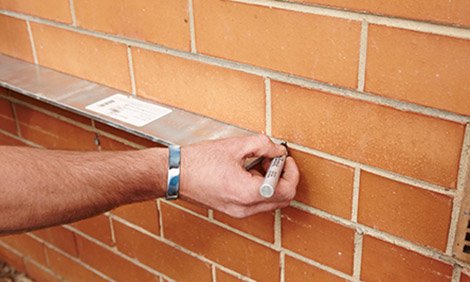
Find the right place to make your hole. You can and probably should consult with a structural engineer that will help you find the right place for the hole. Once you find it, mark the line mortar that the lintel will be in.
Make sure that the ends of the lintel have about 300mm of extra width space in each side because the lintel will rest on the bricks.
step 2 – Cutting the gap
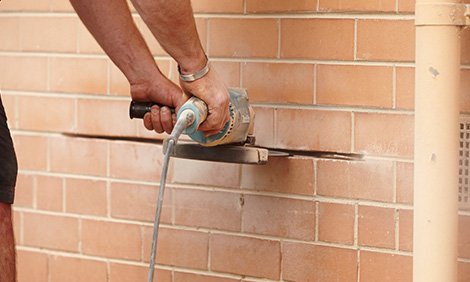
In this step we will need to cut the mortar in the bricks. You can use an angle grinder to cut that out and it’s ok if you also cut a little bit of the brick. Now take the masonry chisel and mash hammer and make sure to knock out the rest of the mortar if any.
Once that’s done, use a hammer drill with a 10mm masonry to clean it up nicely.
Step 3 – Installing the lintel
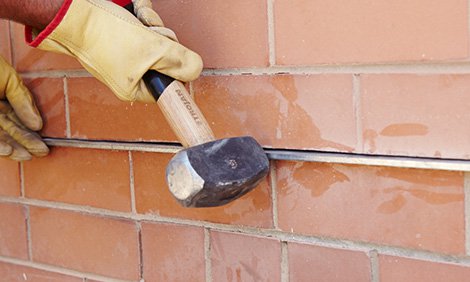
Take the lintel you want to place inside the gap, use a mash hammer to delicately knock it in the gap in the wall. Once it’s in, take some ready mortar mix and place it at the ends of the lintel with a trowel.
You can use your finger to make the profile nice and even by cleaning the wet mortar remaining. Don’t forget to wide the wet bricks down with a wet rag at the end so it will mix nicely with the wall.
- A few steel lintel installation tips
Don’t be afraid to ask for help from a friend, steel lintels can be heavy if you need to place it in high places and it could be dangerous to try and hold everything together alone.
Always wear eye protection when you work with bricks. You be surprised how many chips and little bits can fly into your eyes while you work and cause serious damage.
Don’t try and do everything yourself. If the job seems too much or you’re not sure how to do it, better call a professional. At Chicago Brick Co we have been installing lintels and replacing them for many years, and we can help you get it done in no time.
*images used are from bunnings
