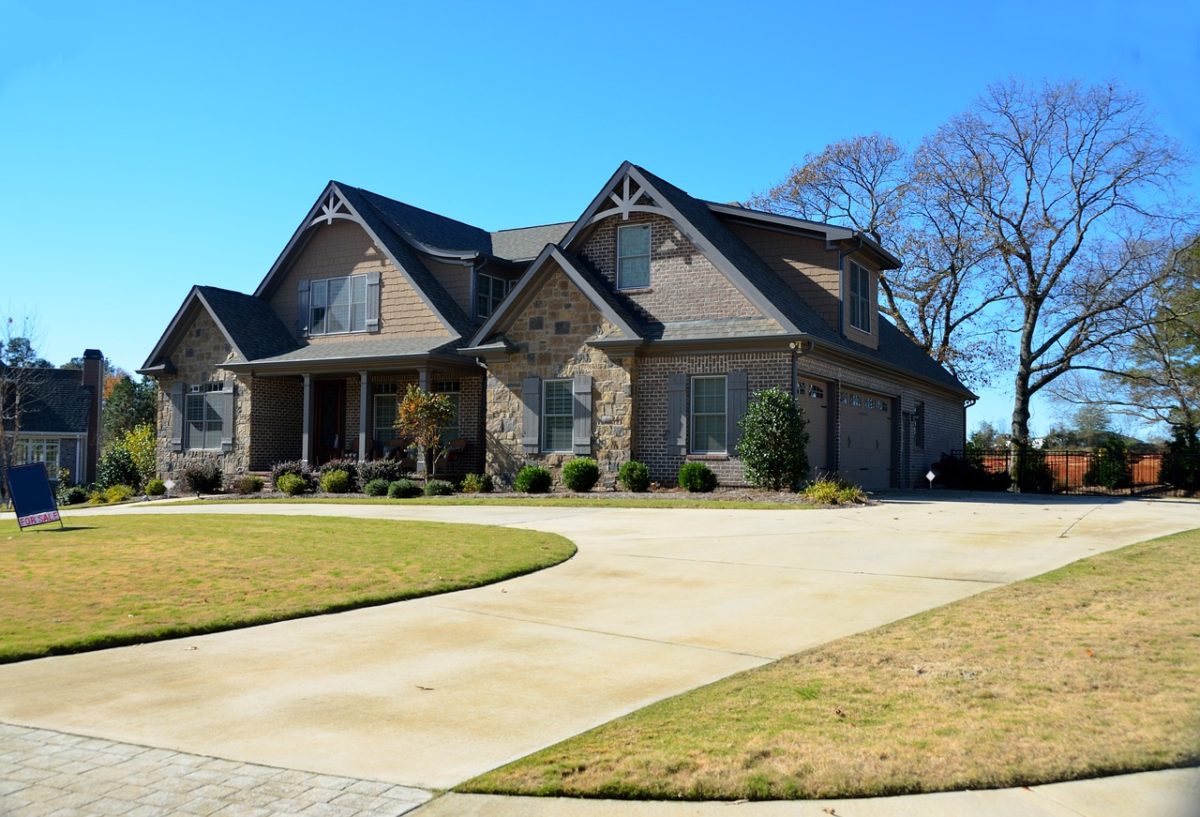
Every year, more and more residential homeowners across the country are taking advantage of the benefits of metal roofing. As a result, metal shingles, standing seam metal roofing, and other designs are En vogue. Many property owners are wondering how to tie metal roof into shingles to mix and match designs.
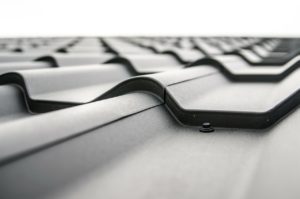
Why are metal roofs so popular today? Well, metal roofing offers various benefits over other, more traditional materials like asphalt. They last longer, are more robust, and have fewer seams. Overall, metal roofs are more weather-resistant and give any property an instant modern look.
Another great thing about metal roofing is the customization options. While installing an entire metal roof on your home or commercial property, you can also mix and max metal accents into your asphalt or tile roof. For example, some of the latest trends include installing metal awnings over entrances, patios, and windows. The combination of metal and other roofing materials increases curb appeal and offers more performance for property owners.
But how do you tie metal roofing into shingles? If you own a shingle roof, then installing metal roofing into certain parts of your roof requires careful planning and execution. Thankfully, tying metal into shingles is totally doable by following specific steps. So, let’s explore how you can start this project right and see it through to a successful finish.
The Pros & Cons of Metal Roofing
Sure, metal roofing has a lot of advantages. We’ve already touched on some of the benefits, but let’s review them. First, here are some of the main reasons why people choose metal roofs.
- Design – Metal roofs aren’t for everyone. Some people like the traditional look of an asphalt roof or the premium feel of something like Spanish tiles. However, metal certainly gives any roof a modern feeling that evokes quality. It’s a great way to upgrade any home’s exterior.
- Durability – A typical asphalt roof will last 10-20 years. Metal roofs last much longer than that. The metal is strong and has larger pieces, so you’re not dealing with issues like missing shingles.
- Weather-Proof – While there’s no such thing as an invincible roof, metal roofing is incredibly resistant to storm damage, strong winds, heavy rains, and hail. Homeowners with metal roofs typically have to worry less about leaks and holes.
- Warranties – Metal roofs come with longer warranties that help protect against any damage or performance issues. If you want more peace of mind when it comes to your roof, then take a look at the warranty protection that metal offers.
These are some of the main benefits of metal roofs. But what about the negatives? The main disadvantage of metal roofing is the cost. You will pay more for metal than you would for asphalt and some other more affordable roof materials. However, the payoff is often worth it, depending on how long you’ll live in your home or own the property. The longer you’re there, the more value you’ll get for your money.
Where Metal Meets Shingles – The Transition
The point at which metal roofing meets up with shingles is typically called the transition. The word makes sense; it’s referring to the change in roof material.
The transition is where most roofers and DIY property owners focus most of their focus when installing or replacing a roof. However, anytime you change levels or materials, the risk of gaps and loose fittings is higher.
If you don’t make the transition as tight and close as possible, you’re leaving room for air, water, and possibly small animals like birds to get in. Flashing must be installed between the metal and the shingles to prevent intrusion.
To get the transition right, you will need to remove shingles from the area around where the metal section will go. Then, the metal pieces go on, and the flashing goes on top. Finally, the shingles go over the flashing and the edge of the metal to complete the transition.
How to Tie Metal Roof into Shingles – The Steps You Need
Following these steps will guarantee you get your transition right and will help you with how to tie metal roof pieces into shingles. Here we go.
Step 1 – Measure Your Area First
Metal roofing is much more expensive than asphalt per square footage. To avoid spending too much and ending up with extra material, precisely measure the space you’re working with. It’s OK to buy a bit of extra metal roofing, but there’s no need to spend too much when you don’t have to.
Having your measurements also ensures that you can get enough of the material color and shape you need. There’s nothing worse than buying material piecemeal and discovering that the store ran out.
Step 2 – Install Roofing Felt
Just like with any other type of roof, your transition and new roof area will need roofing felt for water protection and to help with insulation. Sometimes, placing wood strips along where you’re putting your roofing felt down will make it easier to keep things straight across.
Step 3 – Cutting Your Valleys
Cutting your metal so that the valleys meet the shingles is one of the trickiest parts of how to tie metal roofs into shingles. People usually have to do this by hand. You’re also going to need closure strips made of rubber or foam that match your metal roof’s shape to prevent water from getting in when it rains.
Step 4- Install Your Metal Panels
It’s imperative to align your metal strips with the edge of your roof or any other lines in the area. With metal, a crooked line will stand out, and you’ll wish you’d done things better. When you’re fastening the metal roofing pieces in place, make sure you use screws specifically designed for metal roofing. They’ll attach faster and more securely.
Step 5 – Avoid Scratches
Do what you can to avoid scratching your metal panels. If they’re colored metal, even small scratches will show up and stick out from the curb. Wearing gloves and rubber tools, when possible, can help prevent scratches.
Step 6 – Install Ridge Caps on the End of Metal Strips
Companies make special ridge caps that go on the end of your metal sections before the flashing goes on top. These ridge caps help lower water damage risk and keep your roof nice and tight. You can either get a solid ridge cap or one made of mesh for increased air circulation.
Step 7 – Now It’s Time for Flashing
Once the metal is in place and secured, the rubber closure strips are installed, and your ridge caps are on, it’s time to install flashing over the metal. If you’ve ever worked on a roof before, then you’re likely familiar with flashing. It’s what makes transitions between your roof and siding and things like chimneys, gable vents, etc.
The flashing here is going to help with the transition from metal to shingle. It’s another step that even further reduces the chances of any water getting inside during a storm. Ideally, use around 10 to 12 inches of flashing between metal and any other roof material.
Step 6 – Install Shingles Over the Flashing

Yes, technically, you can leave your flashing exposed. This, however, doesn’t give your home or commercial property the finished look you want. Instead, install rows of shingles over the flashing and onto the metal roofing a bit to make things look polished and seamless. This will make your transition look seamless and give your roof better coverage.
Stay Safe!
The most crucial part of any roofing project is personal safety. Anytime you’re working on your roof, whether you’re a seasoned pro or a first-time DIYer, you need to take safety seriously. It’s not worth risking an injury to finish faster or save money.
Make sure you have all of the right tools and materials to do the job right. Take your time if you don’t have a ton of experience. Then, if you need more advice or feel stuck, you can watch some online video tutorials or drop into your local hardware store or home improvement chain to ask for some guidance.
Tell any kids or neighbors in the area to stay clear of the roof to prevent injuries. Work during the day and only when the weather is clear.
How to Tie Metal Roof into Shingles – Start Small
If you’re worried about how to tie metal roof into shingles, then give it a try on the back of your home or a shed first. Starting out small is a fantastic way to wet your beak and get a feel for the details of the project. You’ll feel more confident going into other parts of your roof once you have a bit of experience.
